Introduction
Azure Static Web Apps enables easy deployment of static sites or client-side web apps directly from your GitHub repository. Ideal for single-page applications, this service allows you to integrate your site with custom domains, SSL certificates, and automatic deployment on code changes.
Prerequisites
- An Azure account (please follow the steps given in the Create Account with azure pass section).
- A GitHub repository with your static site code (HTML, CSS, JavaScript).
- Basic knowledge of Git and GitHub for managing deployments.
Create Azure Account with Azure pass
Workshop Setup Instructions
-
Go to aka.ms/lod.
-
Sign in using any personal account (e.g., Outlook, Gmail, etc.).
-
Go to the WorkshopPLUS tab, then click on MyTraining.
-
Click on Redeem Training Key.
-
Enter the training key:
DC60CA9869E64A9B- If the first key is taken, use this key:
226CD40181F6471B
-
After redeeming the key, click Launch under Activities – "WorkshopPLUS - Microsoft Azure: Infrastructure as a Service – Remote".
You can use this virtual machine to complete your activities as it has all prerequisites installed.
-
Open an InPrivate browser session and go to https://www.microsoftazurepass.com/.
- Click the Start tile.
- Sign in with the same Microsoft account as above.
-
Confirm the correct Microsoft account is selected, then click the Confirm Microsoft Account tile.
-
In the hosted lab environment, click the Resources tab in the top menu and copy the Azure Promo Code value.
- Paste the promo code (without any preceding text) into the Enter Promo Code box, then enter the CAPTCHA characters.
- Click the Submit tile.
-
Wait for the request to process (do not refresh or use the Back button).
-
Complete the Your Profile form, agree to the subscription agreement, offer details, and privacy statement, then click Sign Up.
This may take 1–2 minutes to complete, depending on activation request volume.
-
Click the Cancel button on the Welcome to Microsoft Azure page.
Note: Ensure that you follow each step carefully to avoid issues during setup.
Steps to Create and Deploy Your Static Web App
Step 1: Create a New Static Web App in Azure
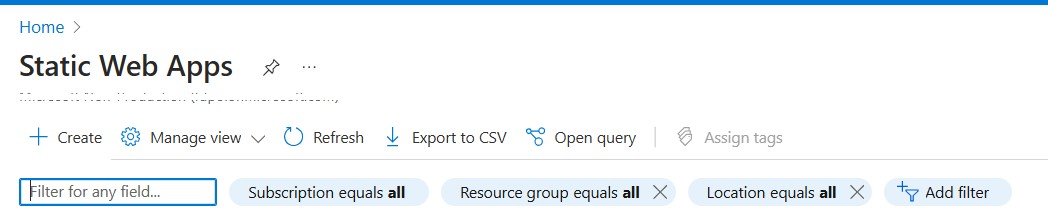
Start by logging in to the Azure portal and searching for "Static Web Apps" to create a new instance.

Step 2: Configure Your Static Web App
- Choose a Subscription and create or select a Resource Group.
- Enter a unique name for your app in the "Static Web App Name" field.
- Select "Free" as the Pricing Plan for a basic deployment.
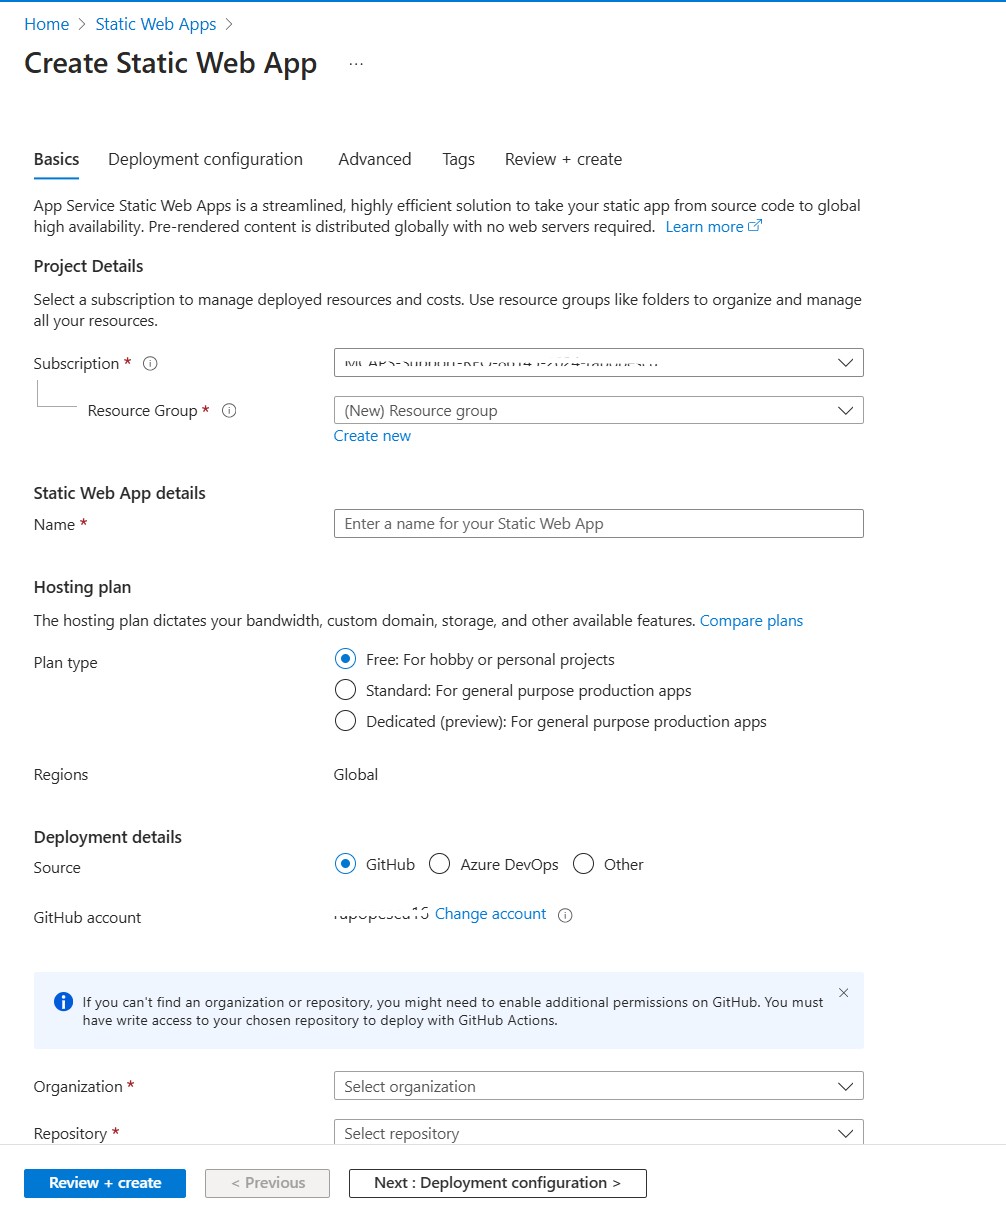
Step 3: Link Your GitHub Repository
- Select GitHub as the deployment source, then sign in to GitHub if prompted.
- Choose the repository that contains your code.
- Select the branch you want to deploy, typically "main" or "master".
- Specify the build presets, such as "React" if using React, or leave as "Custom" for other static sites.
Step 4: Review and Create
Review your settings and click "Create" to deploy your Static Web App. The app will go live in a few minutes with automatic updates for any new changes pushed to the repository.
Tips for Successful Deployment
- Auto-Deployment: Azure automatically redeploys the app when you push changes to the selected branch on GitHub.
- Custom Domains: After deployment, you can add a custom domain in the app settings for better branding.
- SSL Certificates: Azure provides free SSL certificates for secure connections on all custom domains.